Before you decide to build a pavilion, consider this:
A Do I have at least 500 euro or 570 dollars, for this purpose?
B Do I have at least 1 month fulltime free for this?
C Isn’t there any of my contacts who are about to sell a nice pavilion?
While we worked on our pavilion we occasionally had some thoughts of what in the world we where doing, and if we ever would reach our goal. But after all, we wish everyone to experience the satisfying to make a medieval looking pavilion on your own, and live in it, in any summer weather, while it keeps you comfortable.
It took 7 month to finish our pavilion, but if you read about our delays and problems you will know how to deal with them before it comes. If you won’t read this rubbish continue to the manual.
After the Christmas 2004, when we didn’t do anything but eating the remaining good food, the idea of making a medieval looking pavilion came up.
During the medieval summer
camp at Visby in Sweden,
we had researched and learned about a lot of different solutions and types
of pavilions. Every one who has built a pavilion, will proudly help anyone
who ask, and we got a lot of good advise. That is why it is a good idea, to
join a camp or two, before you decide how to proceed.
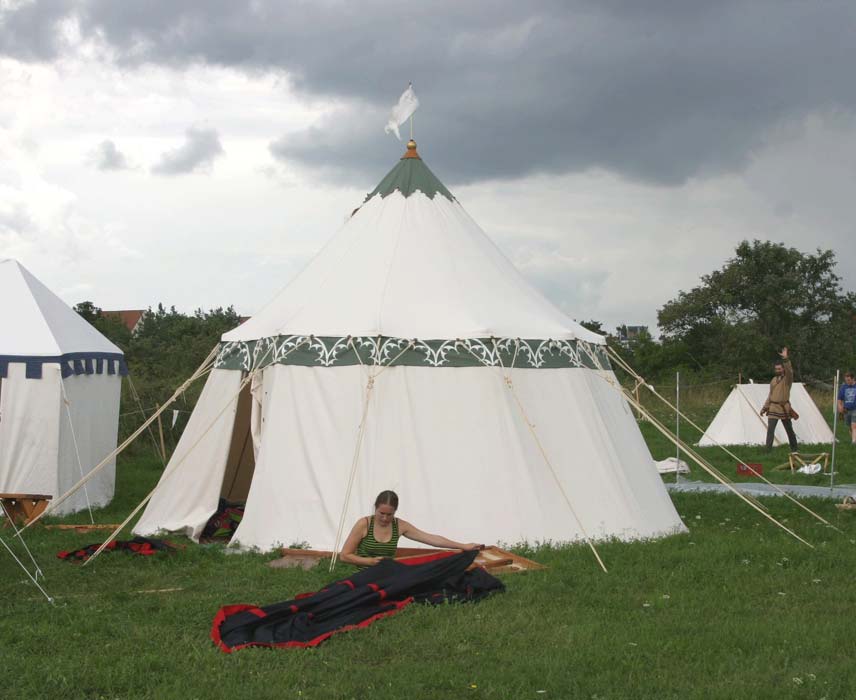
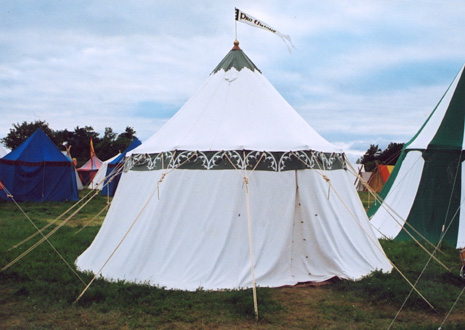
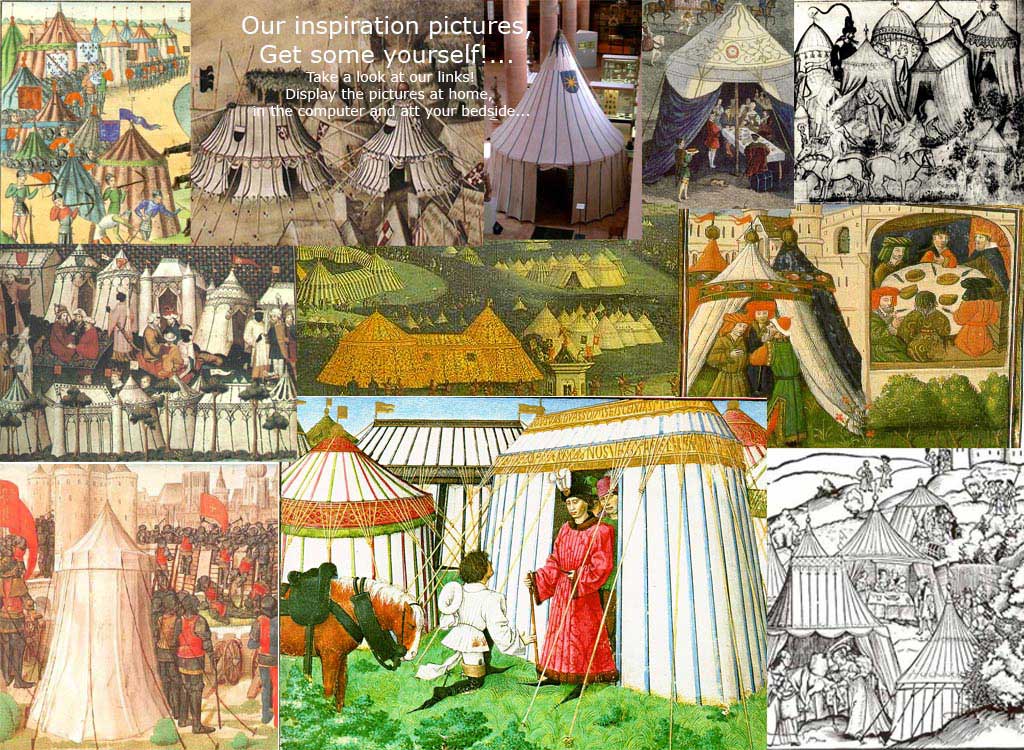
There in the snowy christmasholidays, we soon decided to make a cone formed, round pavilion. We looked in books and on the web, and found a lot of picture-evidence of medieval pavilions likes the one we wanted, se our links. There was unfortunately not any picture showing the construction inside. We think the artists were ignoring this part of some aesthetic reason.
Well we decided to copy the medieval look of the pavilion and make it practical, easy to pack and transport on top of a car, easy to rise and tear down, with strong material and solutions from the middle ages. In fact a pavilion the medieval people would make.
After many hours in front of the drawings and sketches we came up with a construction in 12 parts of a circle. A centerpole with a hub and in the hub 12 spokes holding out the canvas. Outside the 36 hooks attached to 12 ropes, in the roof-edge, would provide a smooth, tight canvas witch let the rain pour of easily.
To transport the construction inside a large car, or on top of a normal car, the length of the detail shouldn’t be much over 2 m. The centerpole became 2 parts where the longest are 208 cm and the 12 spokes are about 180 cm.
The tent canvas was divided in a roof and two walls to button on the roof. The proportions would be 4 meter height 4 meter in diameter and the roof angle became 45 degrees, a nice size for a pavilion.
We wanted also a frieze in a different colour and a roof cape on the top. A streamer should add to the medieval look with a legend in Latin. A golden fringe on the frieze was finaly found and a carved pattern on the centerpole is something we are waiting for.
The hardest thing for us to work out was how to make the hub and the hubholder. Finally we came up with the simple construction we now have, easy make and strong enough.
We used a lot of tools and machines because we didn’t have the time to make the pavilion by hand:
An electric jigsaw, electric circle saw, electric drill /polisher and a lot of hand tools and not to forget a strong sewing machine “Singer”, with a lot of new jeans needles.
We didn’t have a strong sewing machine and we got the good idea to start a study circle. In Sweden you just ask an evening-school if they want to support you and if the project has a learning nature you often get a yes. We had two friends who wanted to make a similar pavilion and we started a circle. Unfortunately the friends couldn’t continue. But we got the access to the school and the sewing machine anyway.
We where working with the wooden construction outside in the summer weather. The sewing occupied our livingroom for three weeks.
The problems we met was mostly delays, based on promises, people couldn’t keep. The making of the hubholder had that kind of delay. First we went to a smiting school where I know the teachers, and they took the challenge, it would be a good thing for the pupils to practise on. After 7 weeks we wondered if something was finished, but no. The teachers told us to try another place. A friends friend easily could make the smiting at his fathers garage, after some weeks he told our friend, he couldn’t do it. Well we turned to the local smithy and he made the hubholder together with the centerpolefoot in the less of a week, and for a low cost.
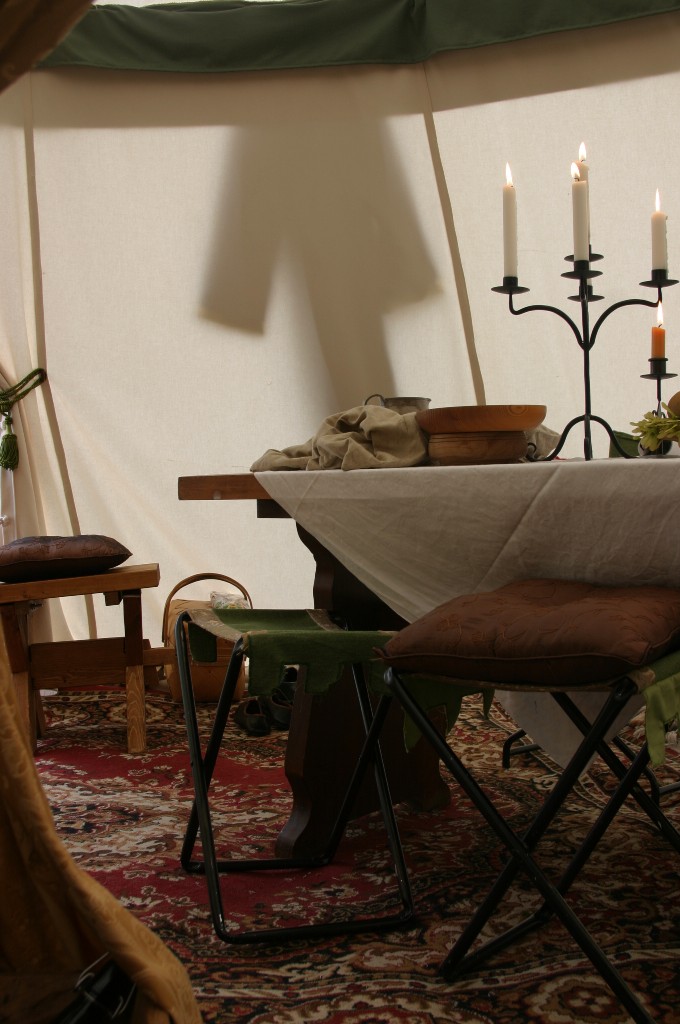
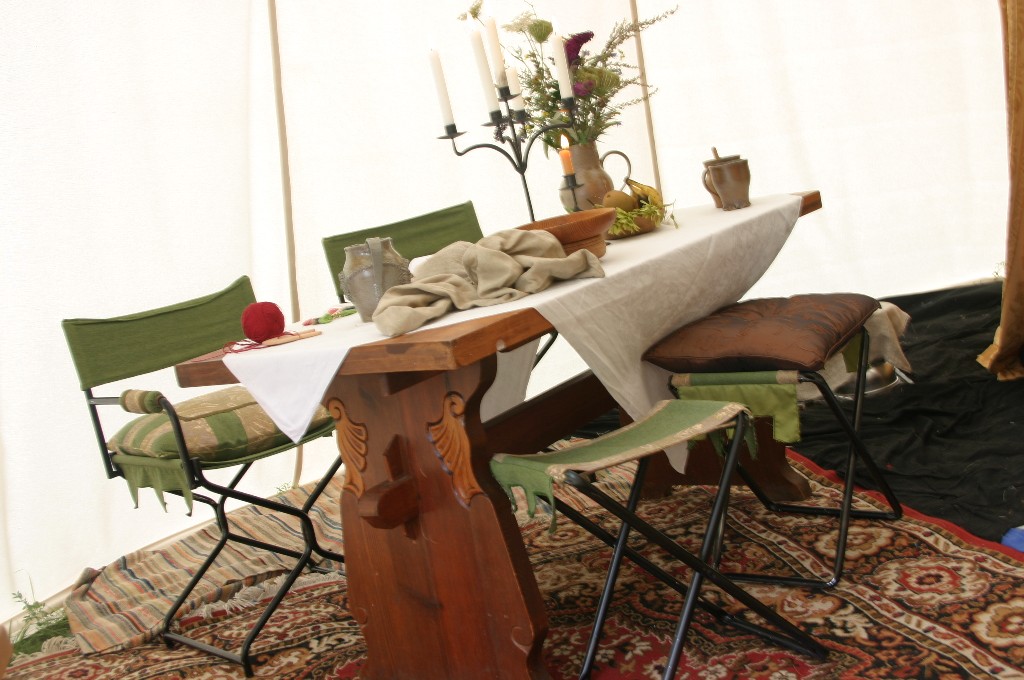
The waiting was frustrating and in the meantime the streamer and some furniture’s were created. Look here
The first cloth proves wasn’t satisfying, either too thin or expensive or to loose and fluffy. Another manufactory had the right cloth but we had to be a company to buy from him. So we found a company who would by for us and we paid them. The cloth was second rate but very fine heavy, cotton canvas made for furniture. It was delivered in smaller and larger rolls. There were a lot of faults, but we managed to cut out the pieces without too much throwing away. The cloth with fault we used to make bags for the pavilion parts. One for the roof, two for the walls, one for the centerpole, one for the 12 spokes and some small for the tent pegs and other small things.
The wood from the local timber company was too expensive for our taste and a friend from our medieval group, thank you! Daniel! Who works at an sawmill, provided us with all wood. He also tested the strength of the centerpole-wood in a press. It would easily hold a weight of 7 ton each.
To the hub we needed two circular wooden pieces. On the college where they educate carpenters we got plywood-circles for pub tables. They were suitable for our purpose.
Another friend at our medieval group thank you! Biorn! Provided us with 15 large tent pegs made of the iron poles used for reinforcement of concrete.
The other things we ordered by telephone, or bought on the local market.
If you know what you want, it’s anyway difficult to find it at the right time for the right cost. This is the most time wasting activity around the making of a pavilion, but you will often get a lot of good contacts and experience.
Dis
Mikkelsdotter Torp & Astrid Johnsdotter Torp
/Ida Torp
/ Lena Torp
If you have any questions send an email to : lena.torp&brinell.nassjo.se (change the &)